Worldwide Shipping
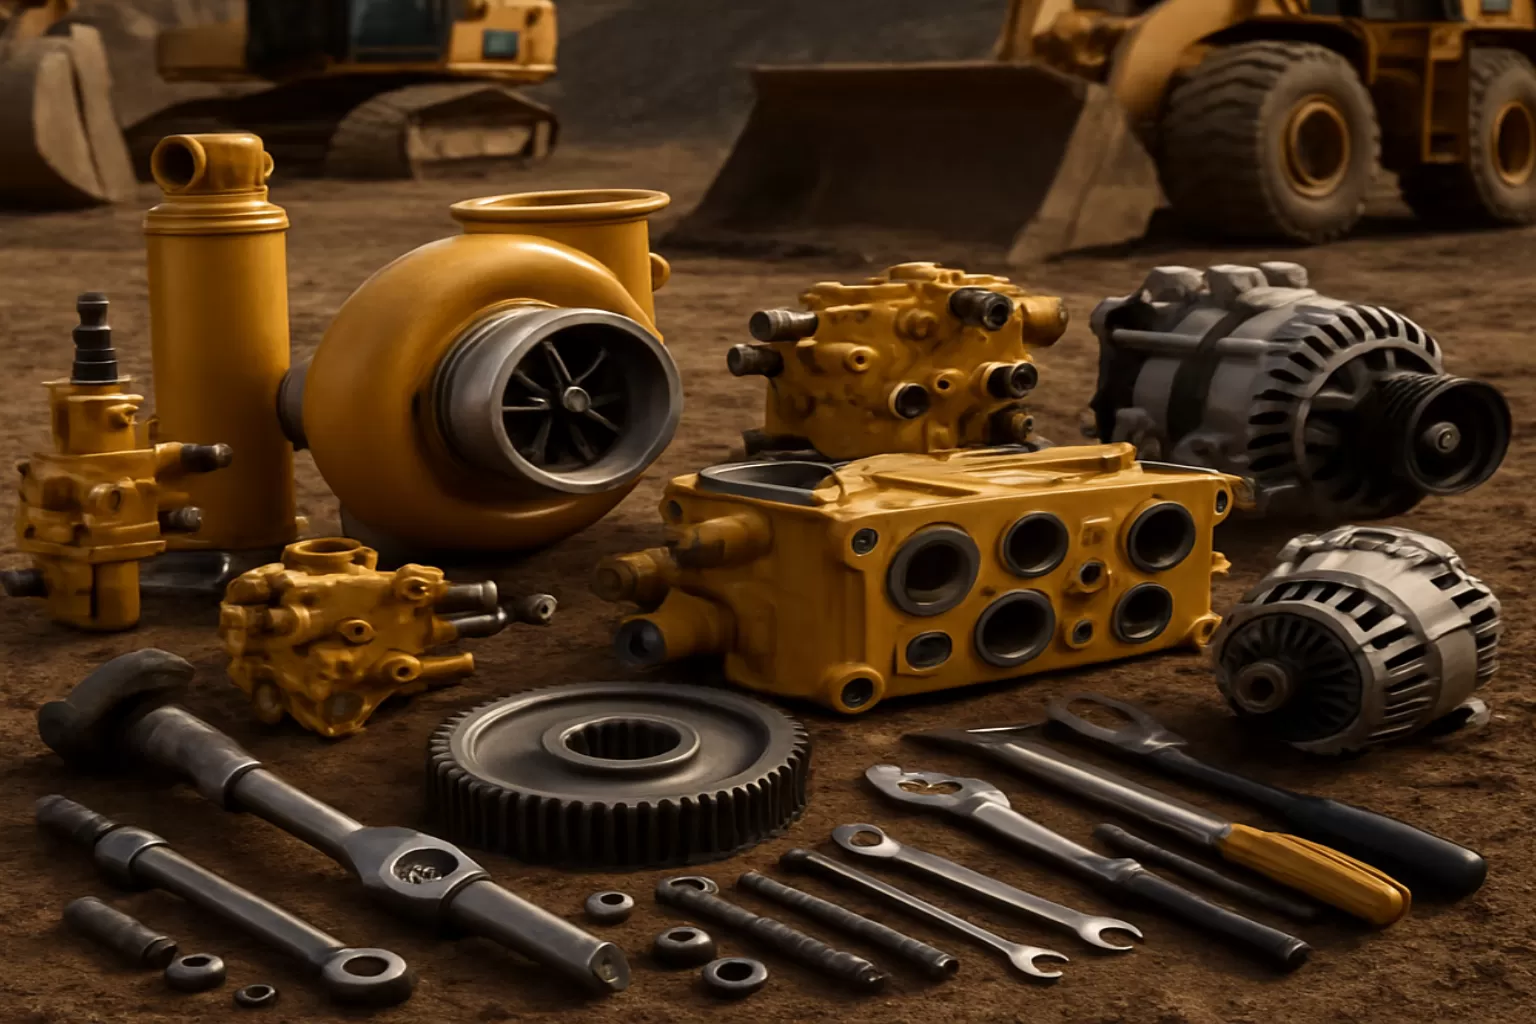
 How to Diagnose Alternator Failure in Heavy Equipment

A heavy equipment alternator works nonstop to keep electrical systems running, including lights, sensors, starters, and critical controls. When an alternator begins to fail, your machine can quickly experience performance issues or unexpected shutdowns. Understanding alternator failure symptoms and knowing how to diagnose the problem early helps prevent costly downtime and extends the life of your equipment.
Below is a practical guide on how to identify alternator issues, what signs to look for, and how to approach heavy equipment alternator replacement safely and confidently.
Common Alternator Failure Symptoms
Early detection is key. Here are the most common signs an alternator may be failing:
1. Dimming or Flickering Lights
If lights dim at low idle or flicker during operation, it often indicates inconsistent power output. This is one of the earliest and most noticeable alternator failure symptoms.
2. Hard Starting or Frequent Stalling
A weak alternator cannot keep the battery charged, causing slow cranking, difficulty starting, or stalling during operation.
3. Dead or Weak Battery
A drained battery doesn’t always mean the battery is bad, it may mean the alternator is not providing enough charge.
4. Electrical Malfunctions
Error codes, malfunctioning gauges, or unresponsive electronic components can point to alternator voltage irregularities.
5. Burning Smell or Overheating
Overworked alternators may develop excessive heat due to bearing issues or belt slippage.
6. Warning Indicator Light
Many machines include an electrical system warning light. If this turns on intermittently or stays on, it can signal alternator underperformance.
How to Diagnose Alternator Failure in Heavy Equipment
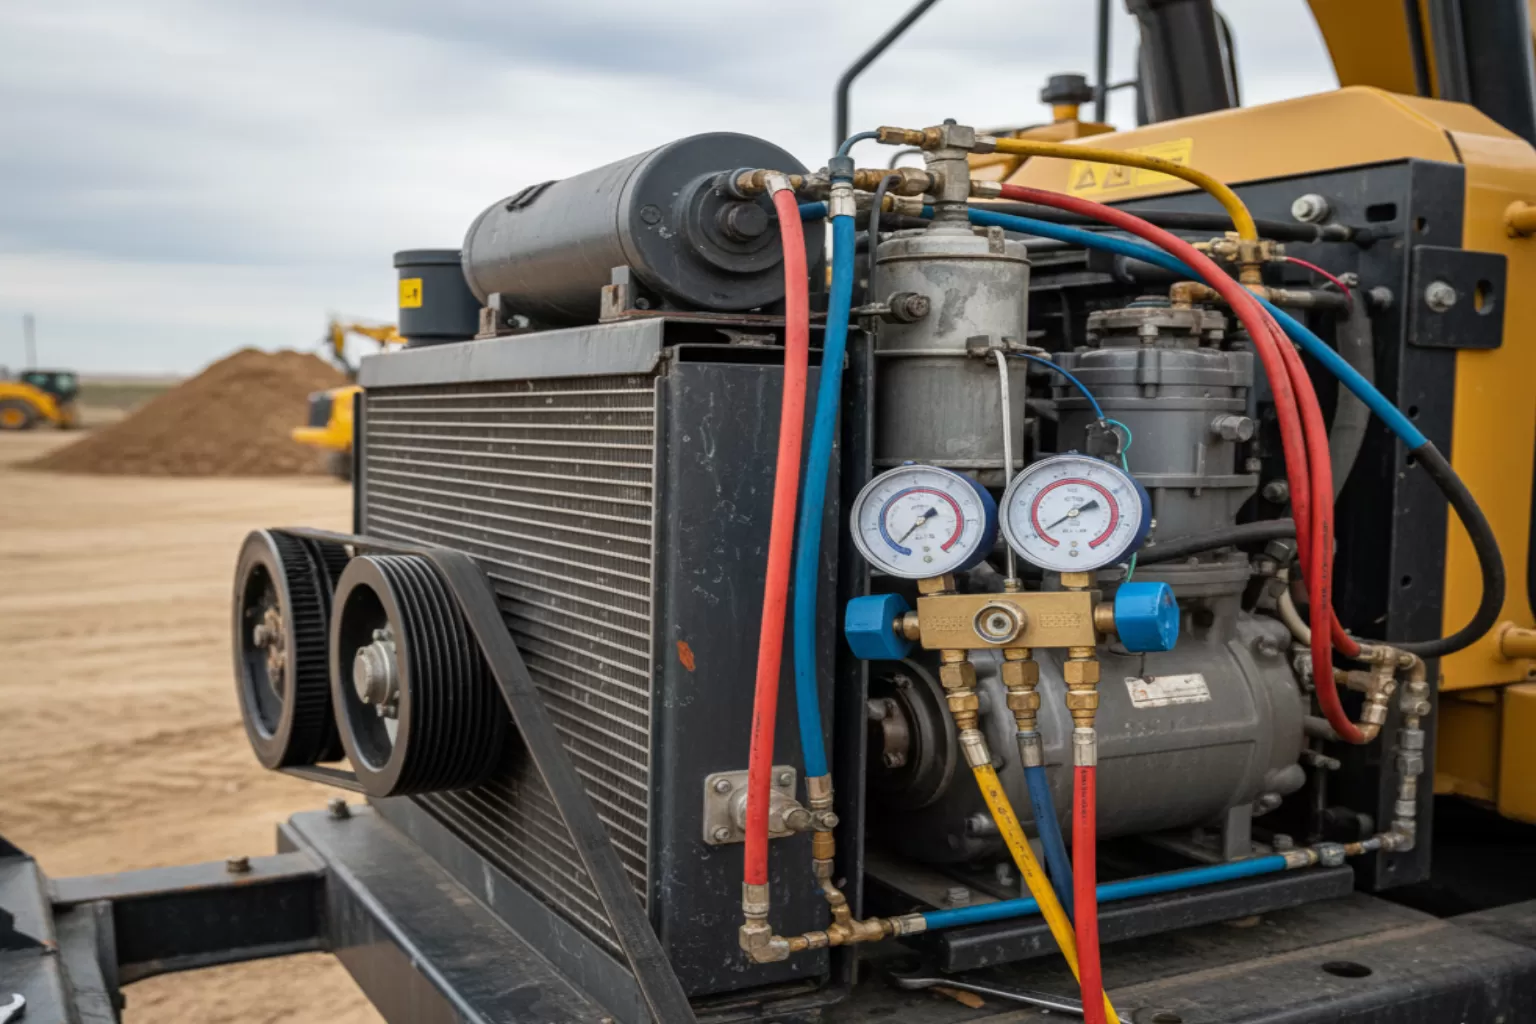
1. Perform a Visual Belt and Pulley Inspection
Check for wear, cracks, or slippage on the belt that drives the alternator. A loose or damaged belt may cause inconsistent charging.
2. Test Battery Voltage
Use a multimeter to measure voltage at rest and with the engine running. Low charging voltage typically indicates alternator trouble.
3. Inspect Electrical Connections
Corroded or loose terminals restrict power output. Clean and tighten all alternator wiring connections.
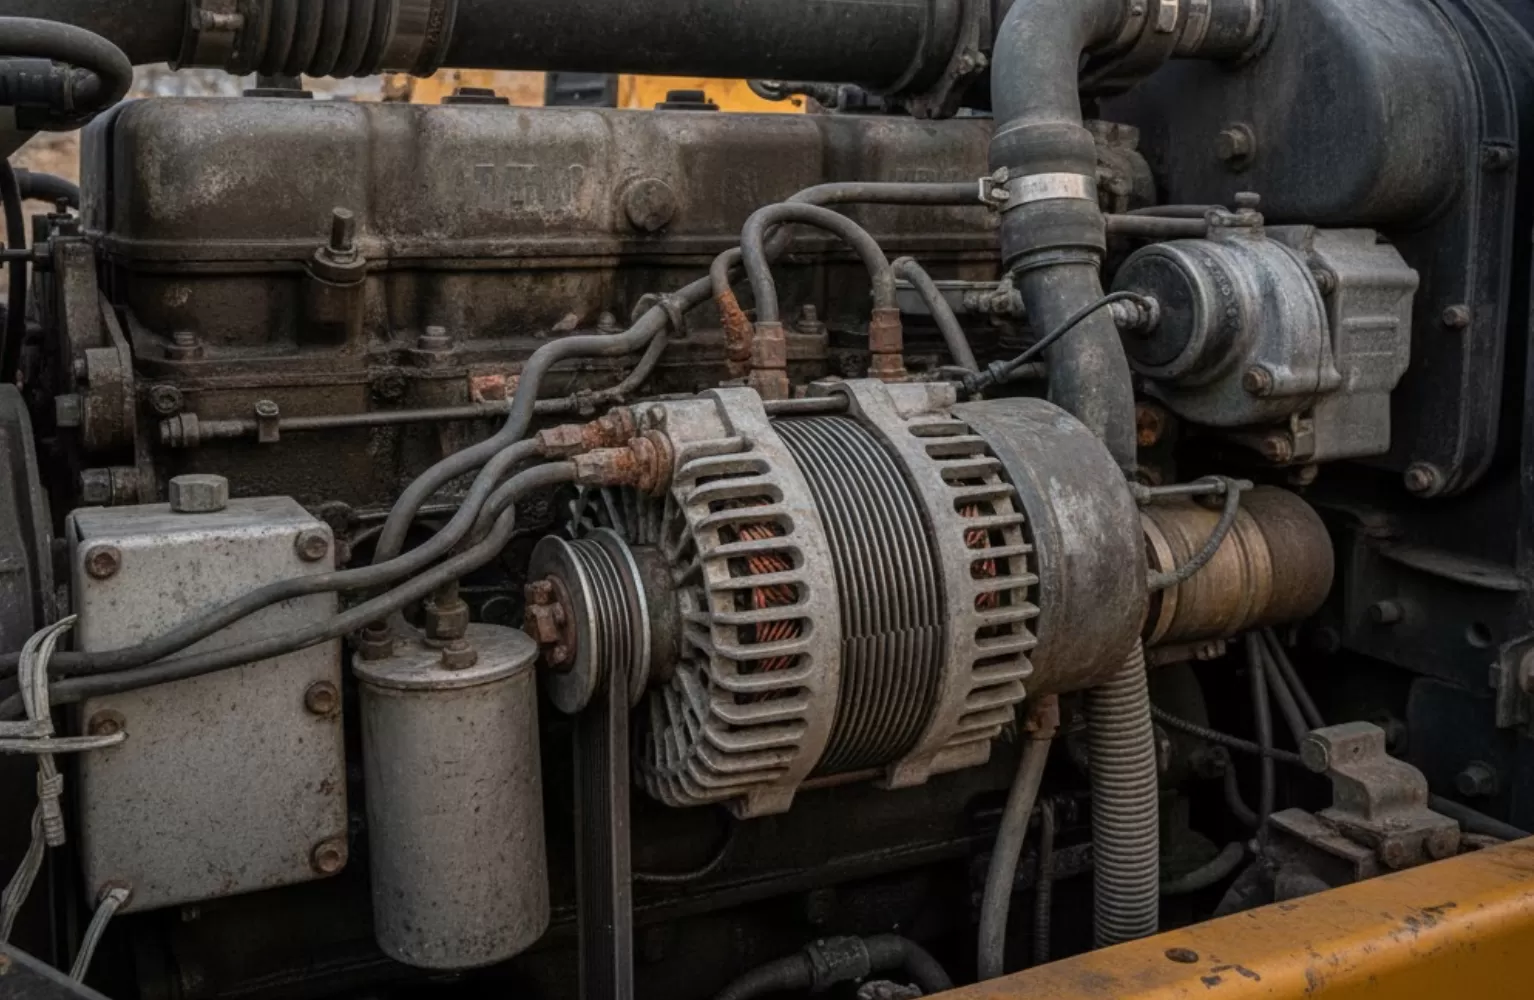
4. Listen for Abnormal Noises
Grinding or whining noises may point to bearing failure inside the alternator.
5. Load-Test the Charging System
A professional load test confirms whether the alternator can maintain voltage under working conditions.
6. Evaluate Operational Symptoms
Combine test results with real-world behavior—dimming lights, stalling, or battery drain—to confirm alternator failure.
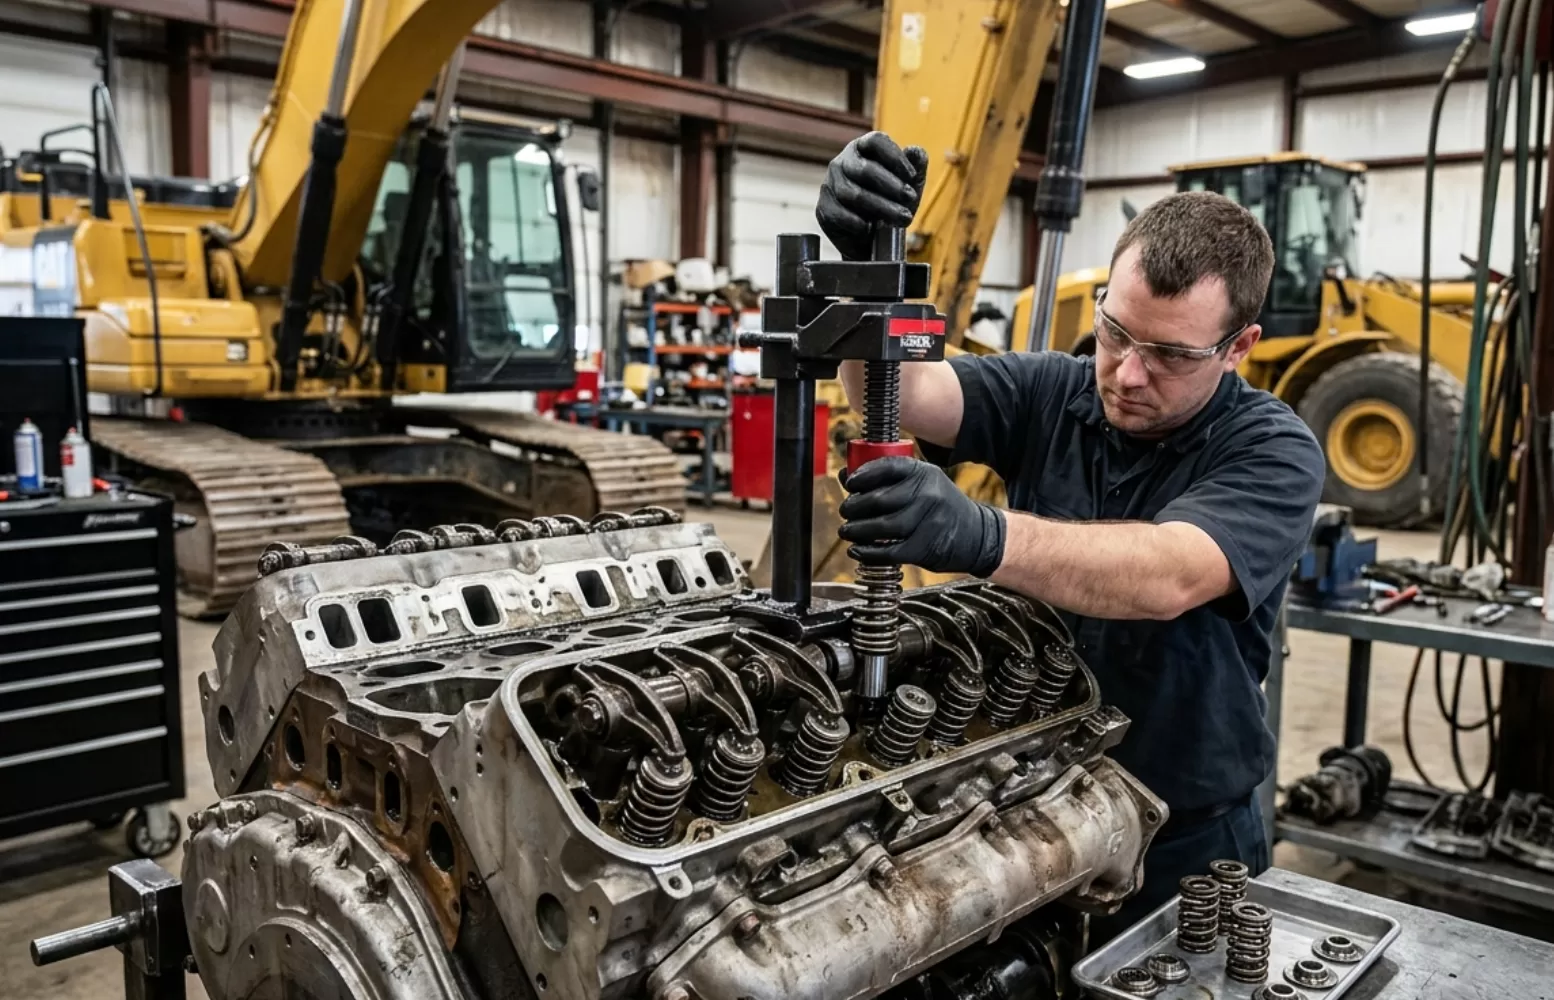
When It’s Time for Heavy Equipment Alternator Replacement
Once you confirm failure, timely replacement prevents strain on other electrical components. When replacing, choose genuine or high-quality aftermarket parts that meet or exceed OEM specifications to ensure long-term reliability and consistent electrical output.
Premium aftermarket alternators provide strong performance and durability while fitting your machine’s specifications. Always match the alternator to your equipment model, amperage needs, and operating environment for best results.
Maintenance Tips to Prevent Future Alternator Issues
- Keep belts properly tensioned.
- Inspect wiring regularly for corrosion.
- Clean terminals and connectors during routine maintenance.
- Monitor batteries to avoid overloading the charging system.
- Replace worn components promptly.
Regular inspections help you catch small problems before they cause complete alternator failure.

About the Author

Related Posts
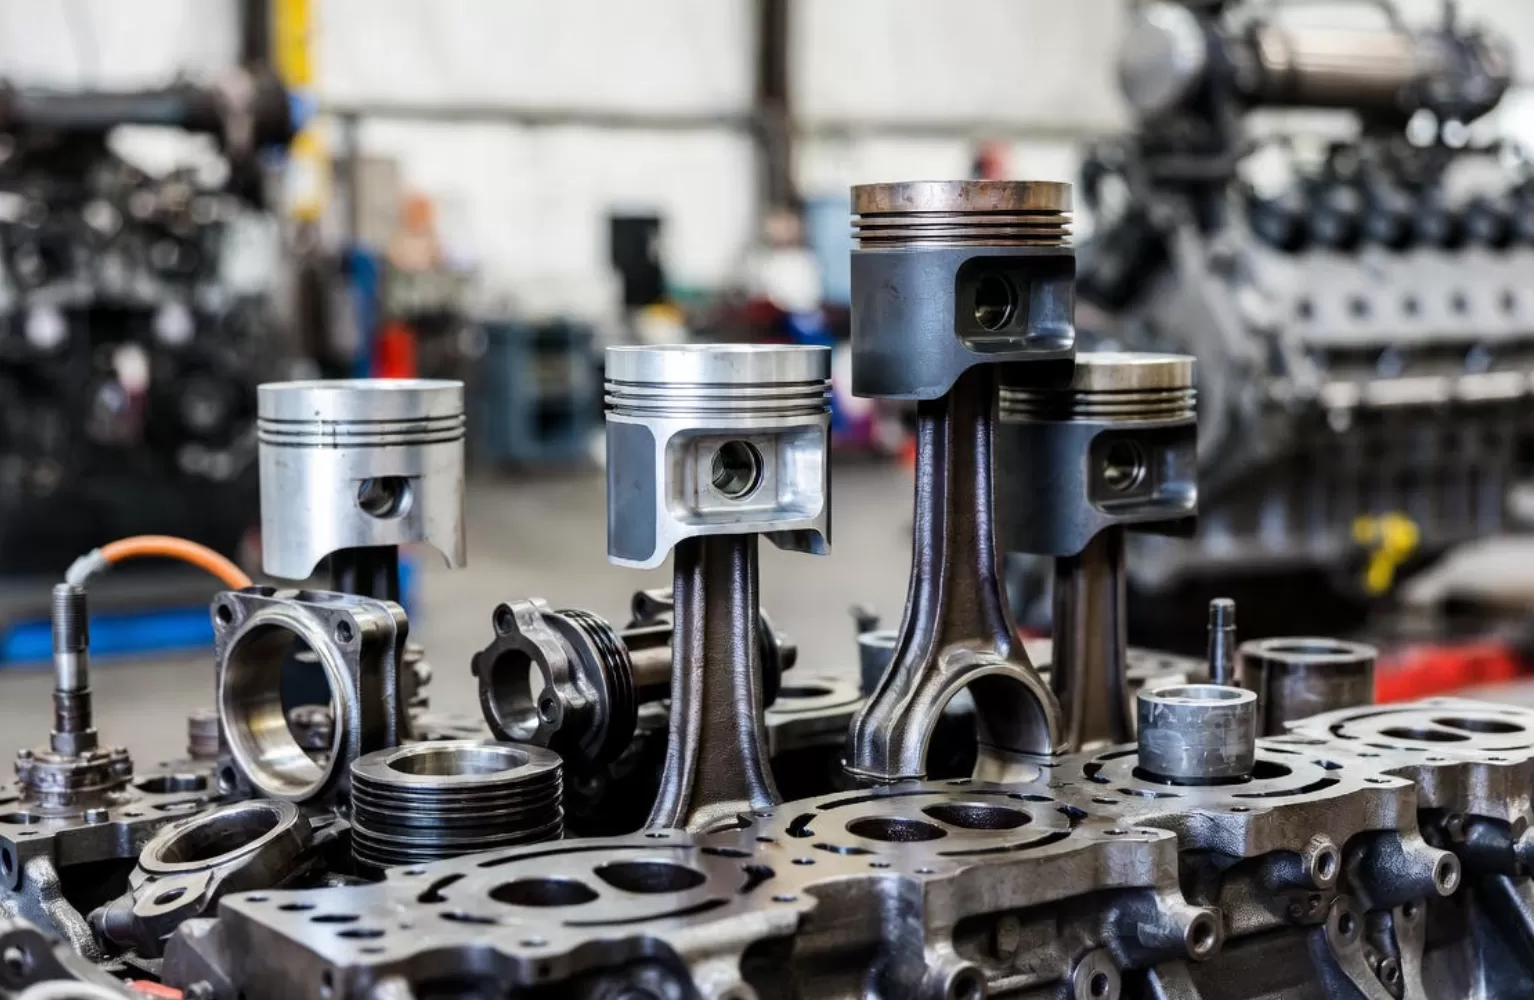
Why Proper Piston Pin Fitment is Critical for Engine Longevity
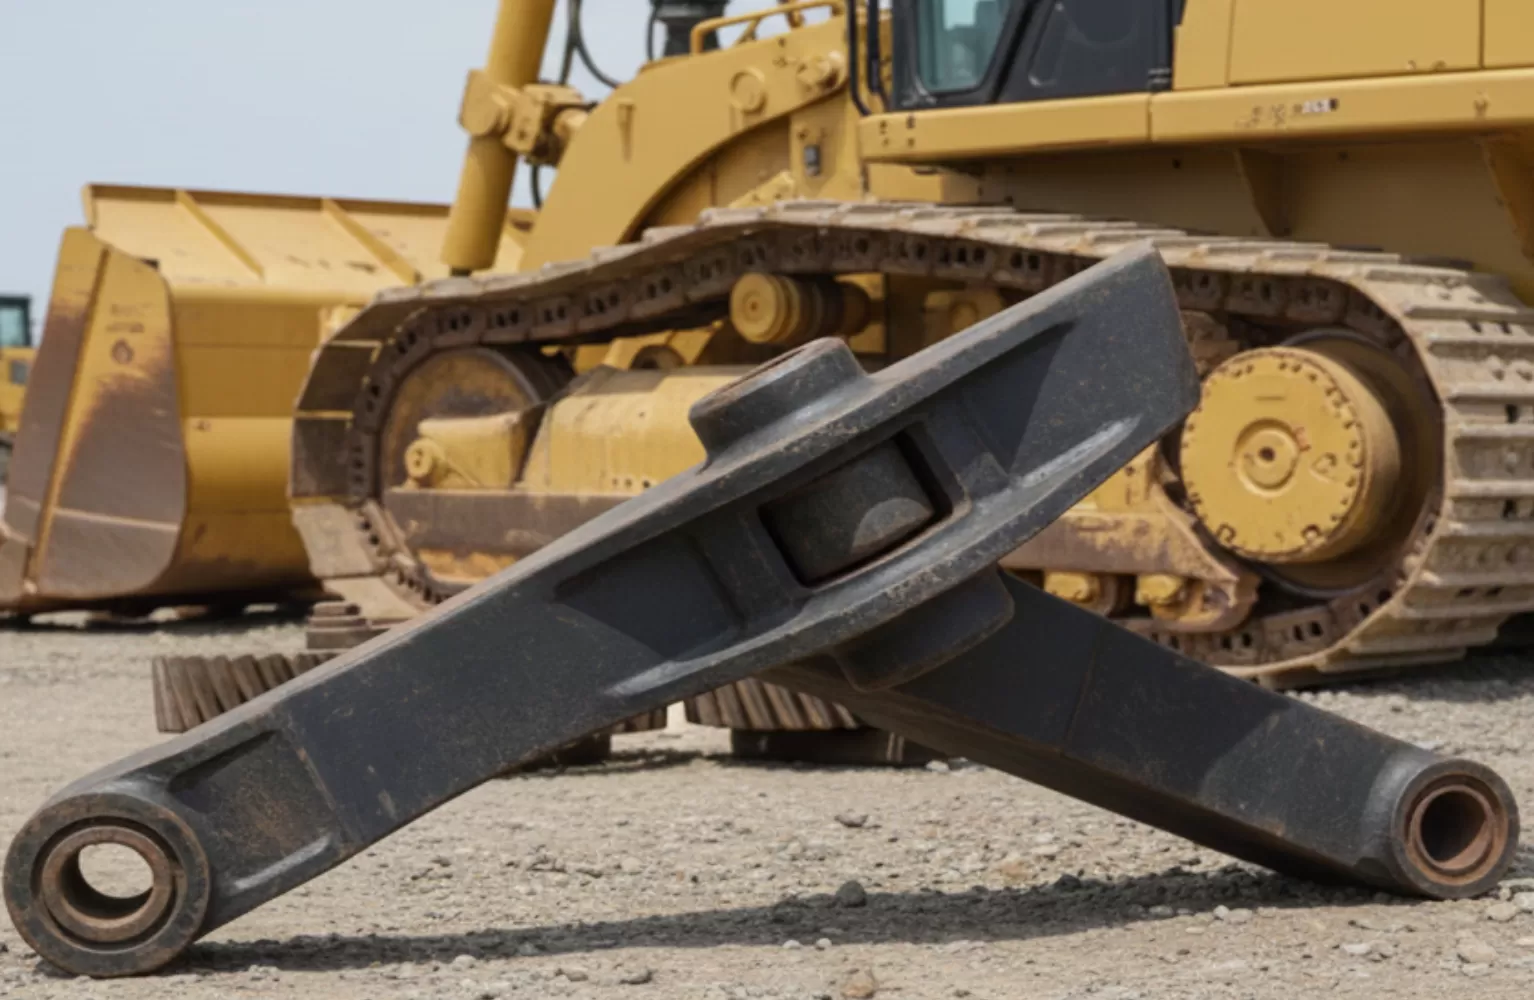
Importance of Equalizer Bars for Smooth Track Frame Movement

How Turbochargers Improve Heavy Machinery Power and Fuel Economy

How to Maintain Radiator Cores for Maximum Cooling Efficiency
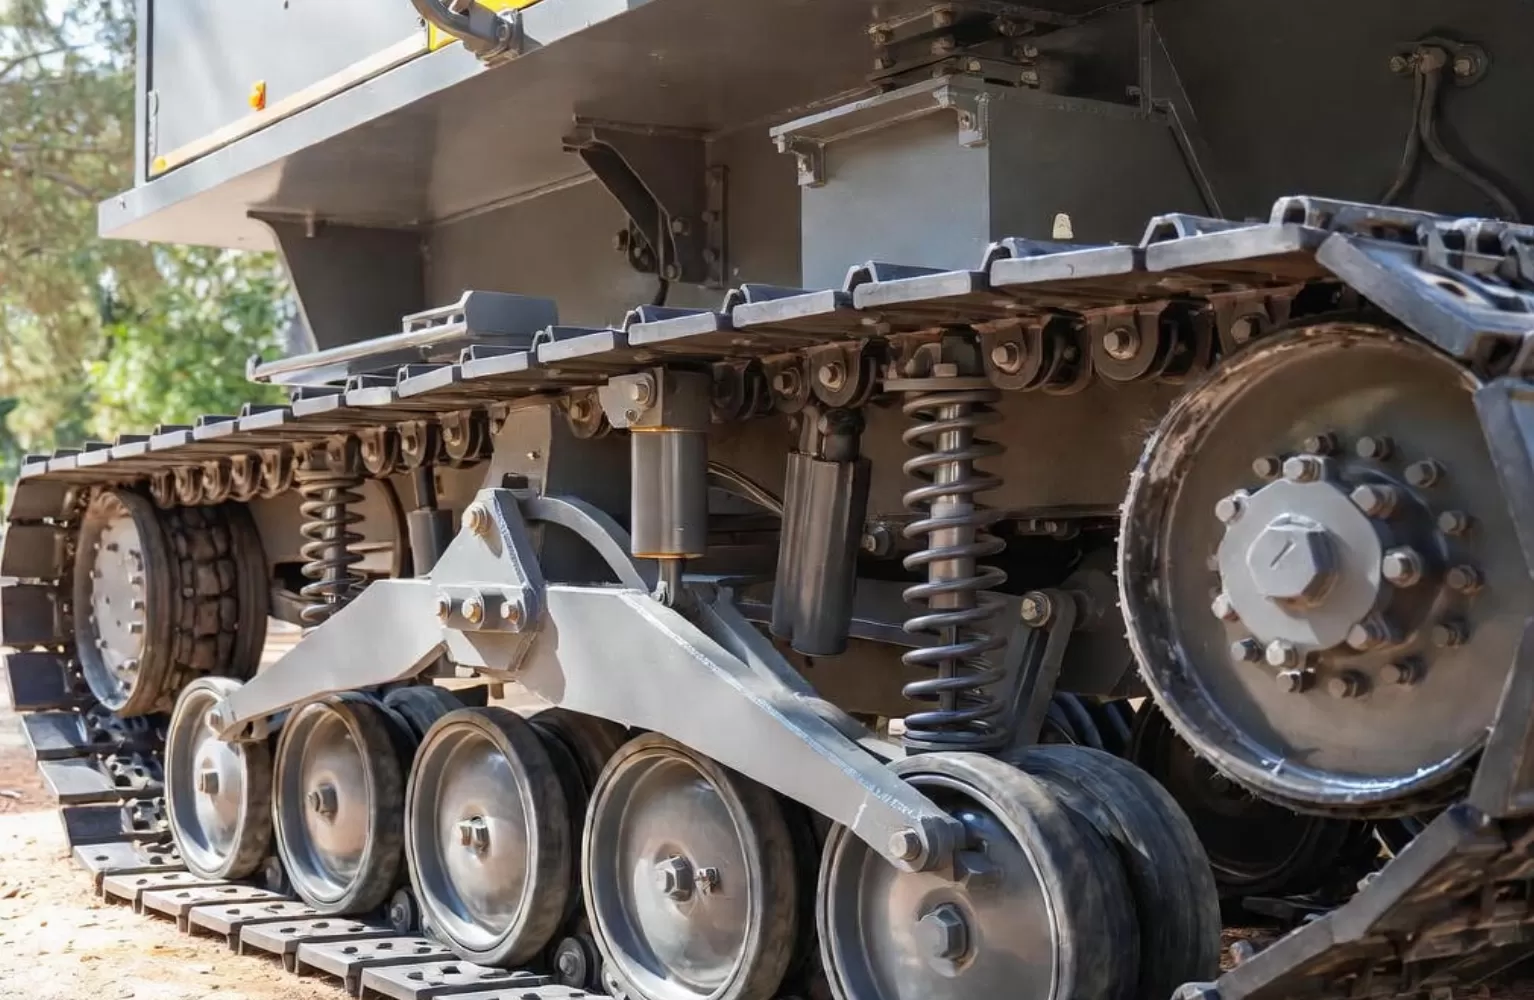
A Complete Guide to Extending the Life of Your Undercarriage System