Worldwide Shipping
 How to Use a Caterpillar o-ring Kit: Step-by-Step Guide


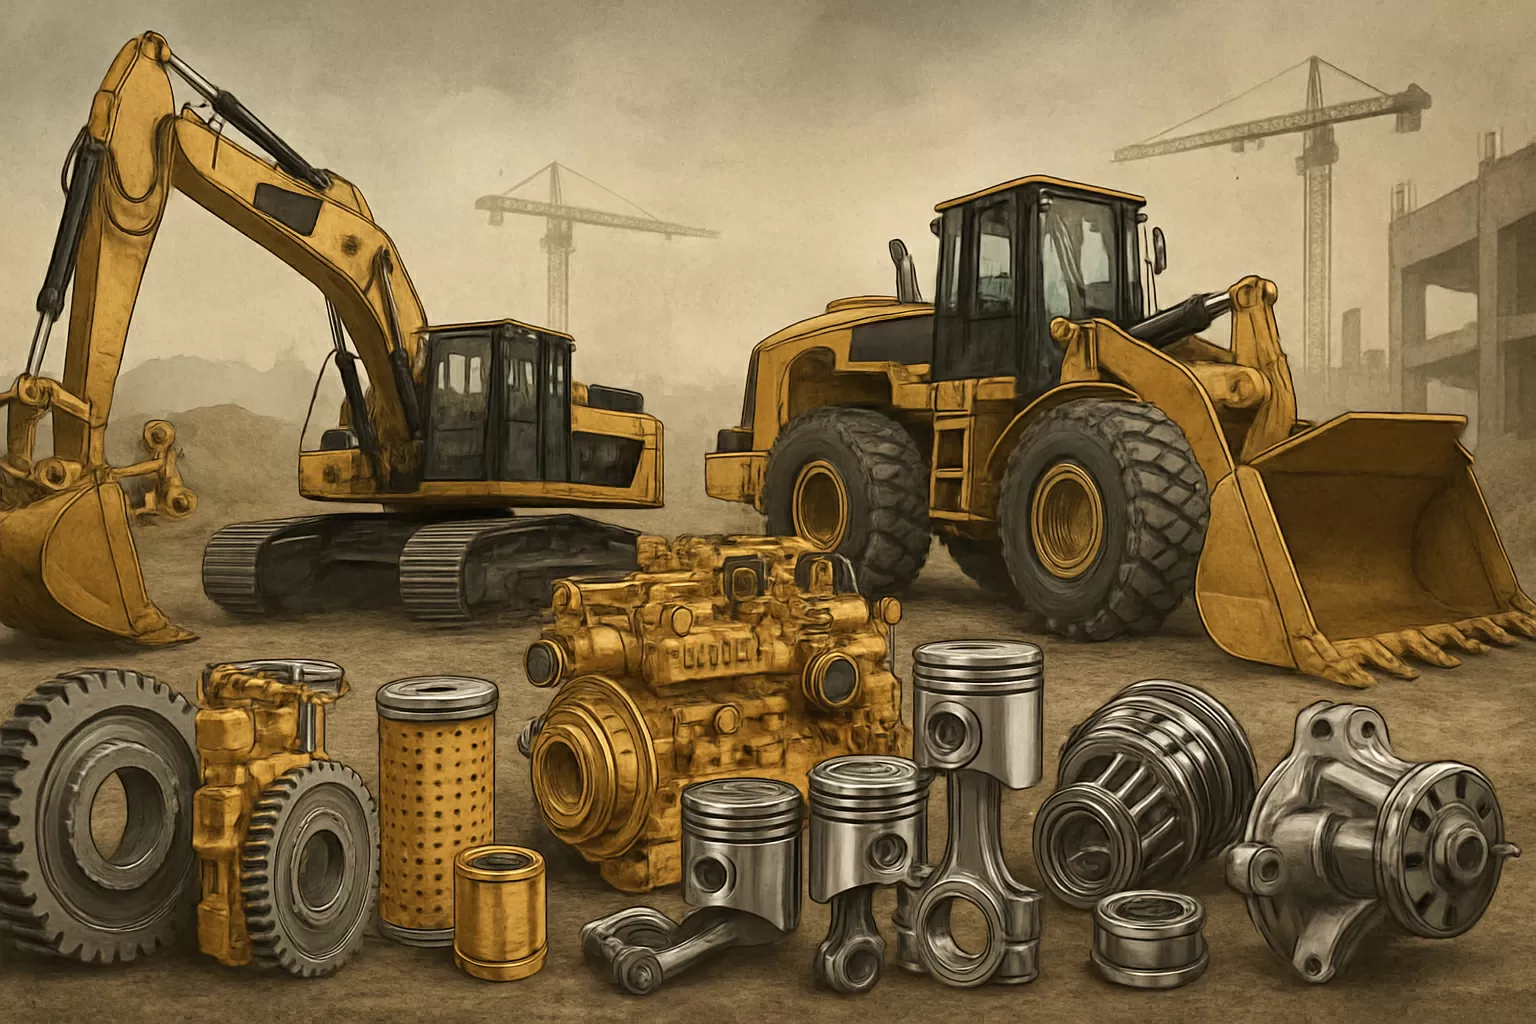
When it comes to heavy equipment maintenance, even the smallest components play a massive role in performance. Among these, o-rings are silent heroes—ensuring that hydraulic systems, fuel circuits, and pneumatic components remain leak-free and efficient.
This guide walks you through how to use a Caterpillar O-ring kit correctly, combining practical know-how with industry best practices. From understanding the components inside the kit to installation techniques and troubleshooting common issues, this Caterpillar o-ring installation guide is your go-to resource.
Why O‑Rings Matter in Heavy Equipment Maintenance
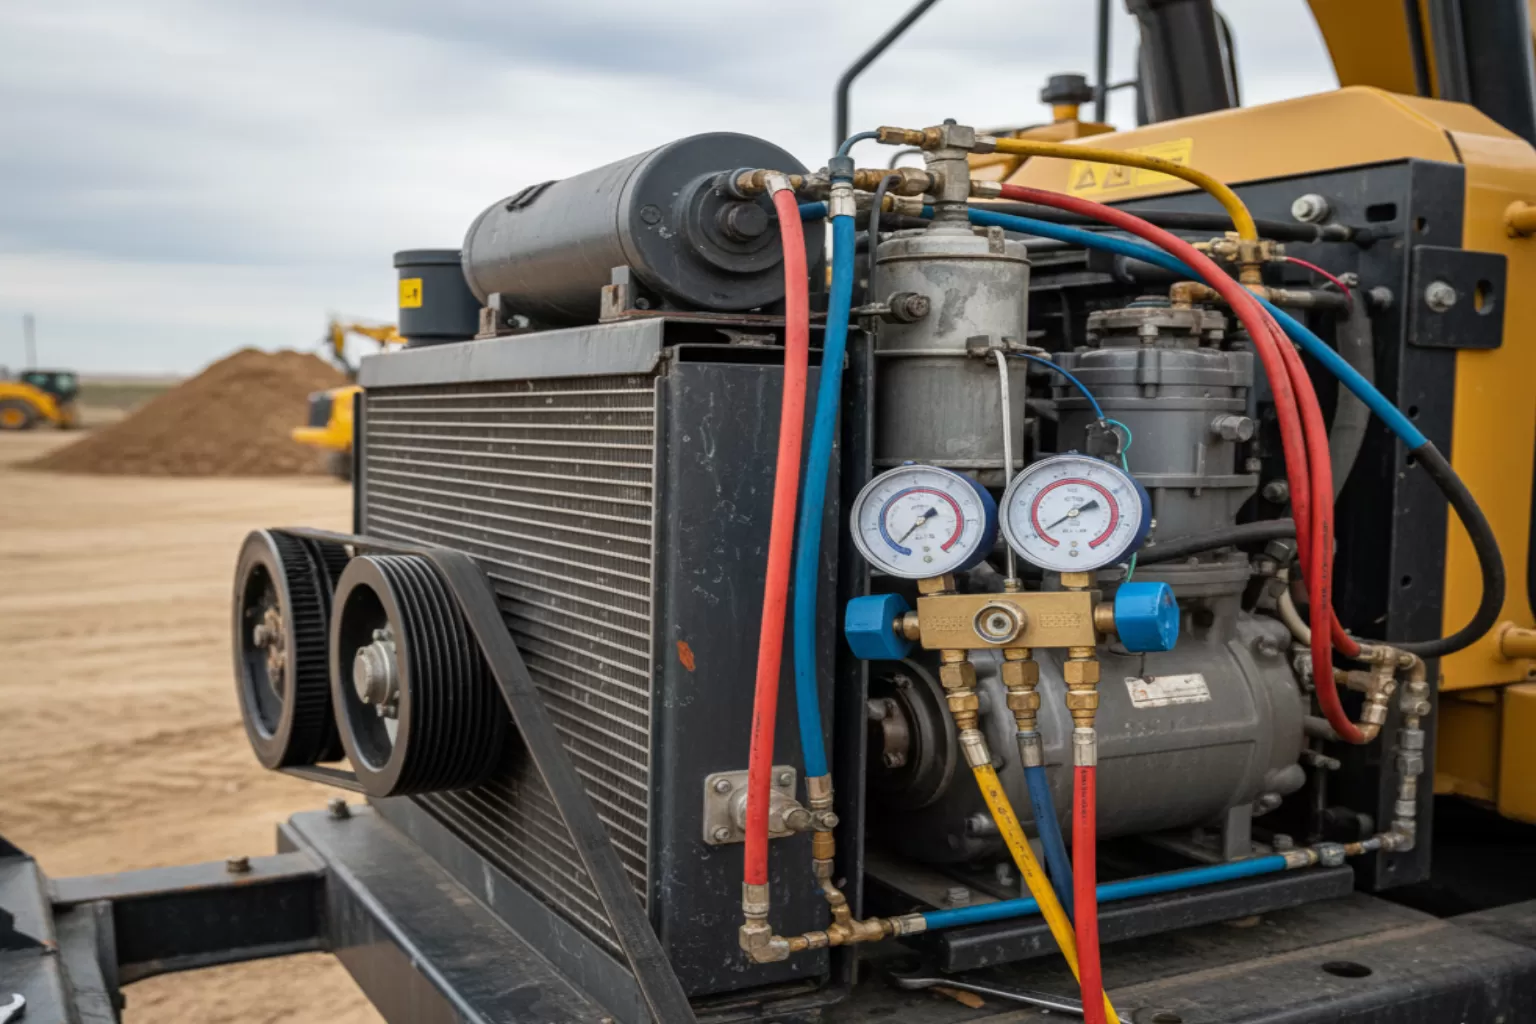
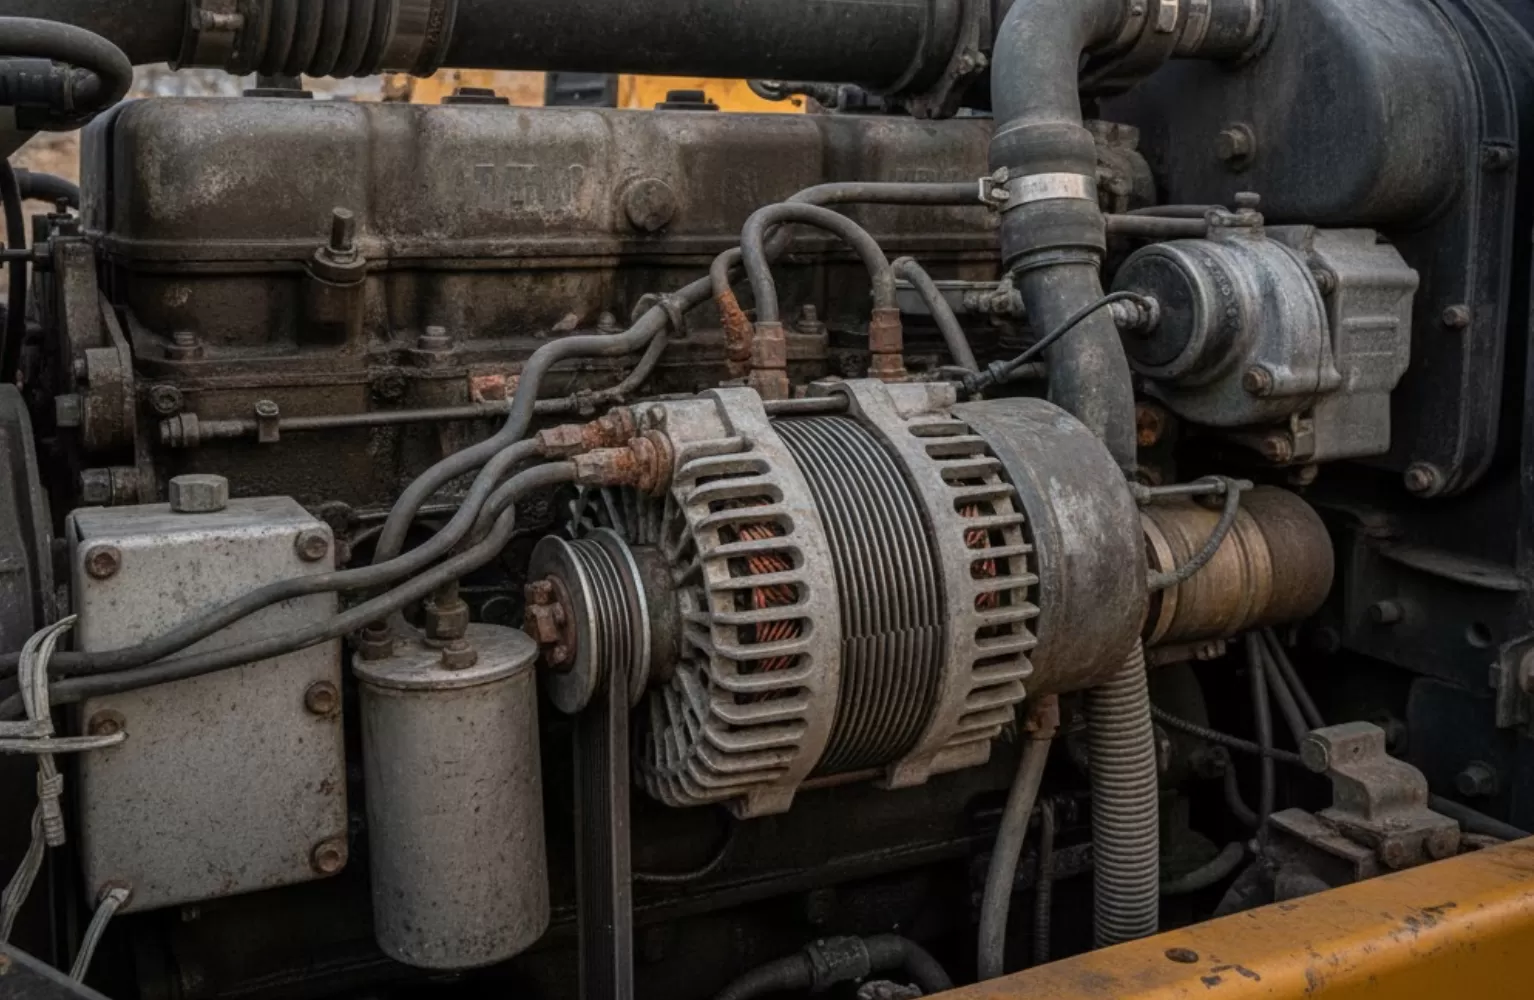
Before diving into installation, it's critical to understand why o-rings deserve attention. In machines where high pressure, heat, and vibration are part of everyday operations, sealing failures can be catastrophic.
The Impact of a Failed Seal:
- Loss of hydraulic pressure
- Fluid contamination or leaks
- Increased wear on internal parts
- Equipment breakdown and costly downtime
When maintained and installed correctly, o-rings provide a cost-effective, durable solution for fluid and air containment in mechanical systems. Using a Caterpillar O-ring kit ensures you’re working with components built to withstand harsh industrial environments.
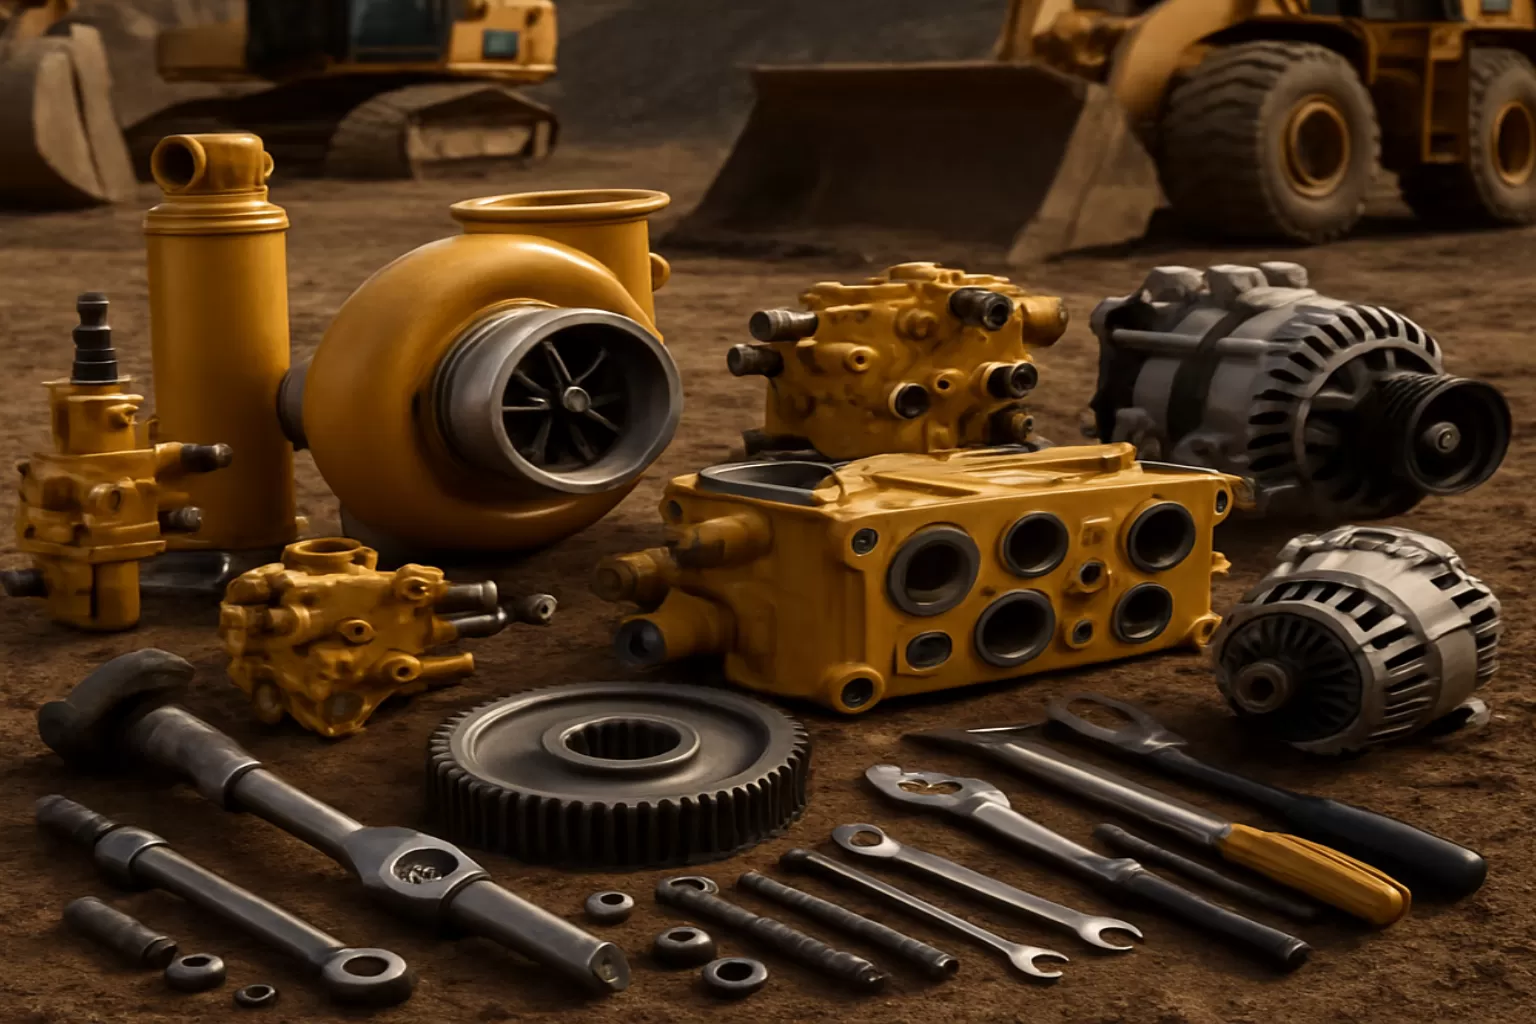
What’s Inside a Caterpillar O‑Ring Kit
Not all o-ring kits are made equal. Caterpillar O-ring kits are specifically engineered to serve CAT equipment in the field or shop.
Here’s what you’ll typically find inside a Caterpillar O-ring kit:
- Variety of o-ring sizes: Covering everything from small fittings to large hydraulic cylinders.
- Material-based organization: Nitrile for general applications, Viton for high-heat environments, and silicone for specialty needs.
- Labeled storage: Each compartment clearly indicates the part number, size, and material.
- Sizing charts & part reference guide: To help ensure precise matching during replacement.
These kits are invaluable for technicians aiming to minimize downtime and avoid hunting for individual seals during urgent repairs.
Step-by-Step Guide to Using a Caterpillar O-Ring Kit
Proper installation is where theory meets practice. Follow this Caterpillar O-ring seal kit instructions breakdown to get flawless results every time.
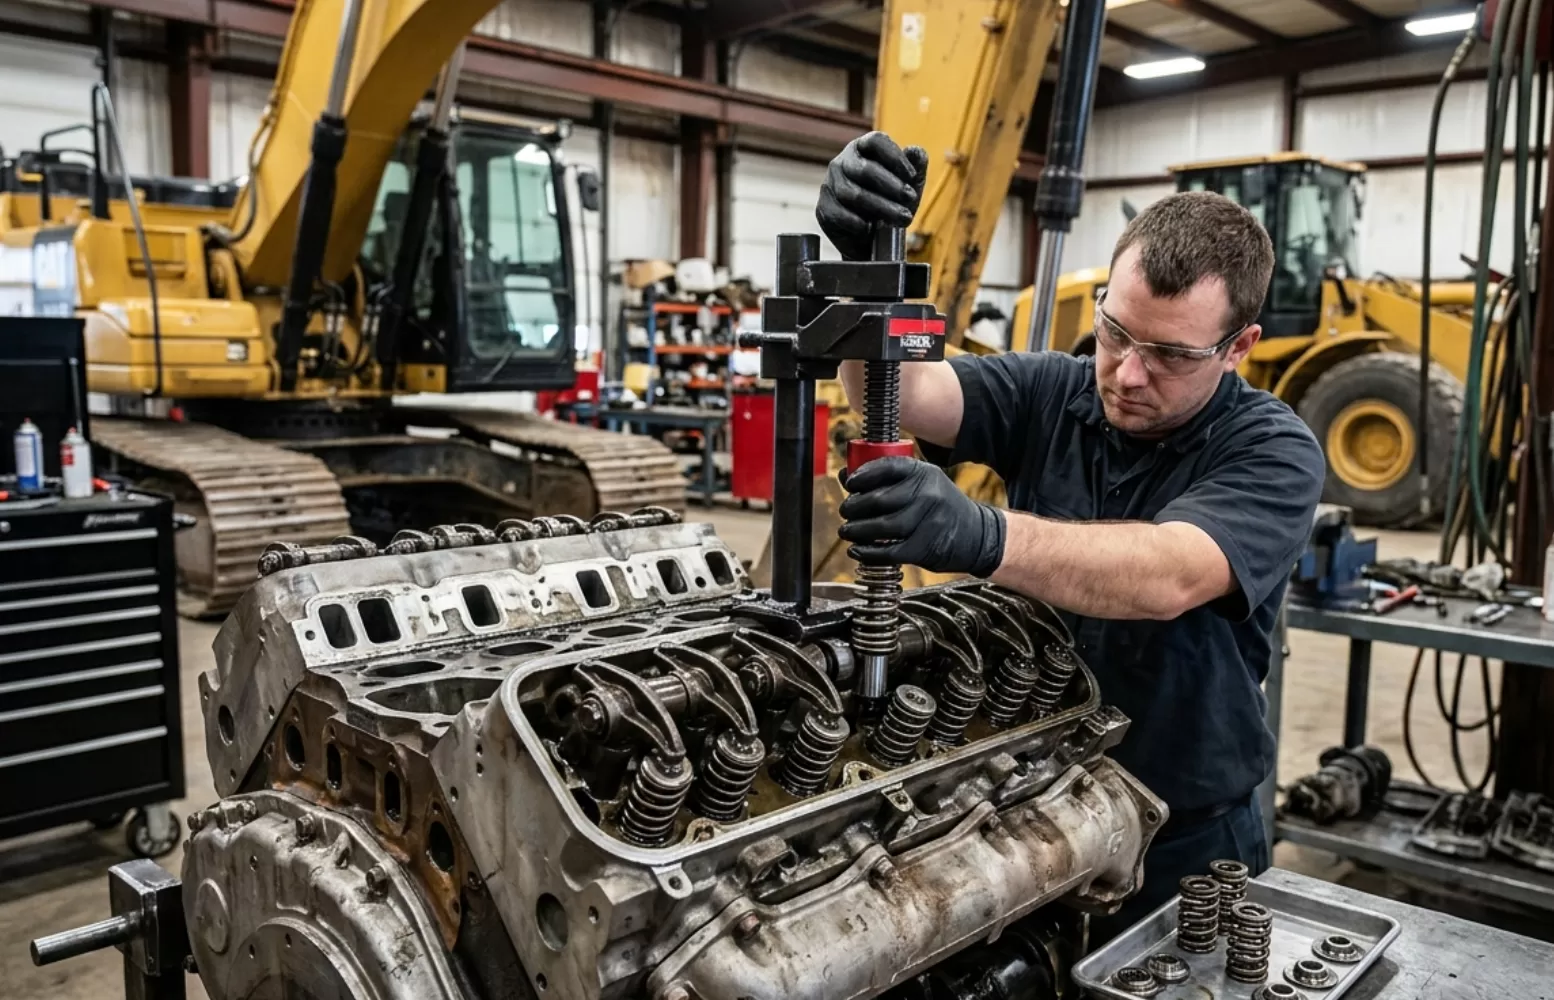
Step 1: Preparation & Safety First
Before opening the kit or turning a wrench, proper prep lays the groundwork for success.
- Depressurize and shut down the machine completely.
- Wear protective gloves and safety glasses.
- Clean the work area to prevent debris from contaminating sealing surfaces.
- Open the Caterpillar O-ring kit, and ensure all tools and materials are ready.
- Visually inspect the o-rings — if they look brittle, cracked, or dusty, replace them.
Proper setup prevents contamination, ensures technician safety, and enhances seal life.
Step 2: Remove the Old O‑Ring
Don’t rush this step — improper removal can damage the groove or sealing surface.
Use a non-metallic pick (plastic or brass) to avoid scratching metal surfaces.
Gently pry the old o-ring out of the groove.
Clean the groove thoroughly using lint-free cloths, and ensure no debris or fluid remains.
Inspect the mating surfaces for scoring, pitting, or corrosion. Address these before continuing.
Never install a new o-ring into a dirty or damaged groove — doing so compromises the seal’s effectiveness immediately.
Step 3: Select the Correct O‑Ring
This is where many technicians go wrong. Choosing the wrong size or material can lead to instant failure.
- Use the kit’s sizing chart to precisely match the old seal’s diameter and thickness.
- Refer to the material guide to choose based on operating temperature, fluid compatibility, and system pressure.
- Do not choose by color alone — some materials look identical but perform very differently.
- If in doubt, refer to the machine’s parts manual or consult the CAT seal chart.
By using the right o-ring from your CAT o-ring kit installation box, you're ensuring compatibility, durability, and peak performance.
Step 4: Lubricate the New O‑Ring
Lubrication isn’t optional — it’s essential. It prevents twisting, tearing, and pinching during installation.
- Use a lubricant recommended by Caterpillar (typically silicone-based or compatible hydraulic oil).
- Apply a thin, even coat to the new o-ring.
- Do not soak or over-lubricate; too much grease can attract dirt and make seating harder.
Lubricated seals not only install easier but also last longer under dynamic movement.
Step 5: Install the New O‑Ring
Installing the o-ring correctly is the difference between a leak-free system and a recurring maintenance issue.
- Stretch gently if needed — never exceed 50% of the o-ring’s diameter.
- Slide the o-ring into the groove, ensuring even seating and no twisting.
- Use installation tools to guide the o-ring over sharp edges or threaded sections.
- Once installed, perform a finger sweep to verify uniform positioning within the groove.
Precision is key. Twisted or rolled o-rings are a top cause of system failure post-installation.
Step 6: Reassemble and Pressure Test
With the seal in place, now’s the time to confirm everything is functioning as it should.
- Reassemble the system, double-checking torque specs and alignment.
- Gradually pressurize the system and check for leaks.
- Allow the system to operate under normal working conditions for 15–30 minutes, then inspect again.
This simple verification step ensures your caterpillar o-ring installation guide process ends with confidence and reliability.
Maintenance Tips to Maximize Seal Life
Even the best o-ring will fail if mishandled or improperly stored. Use the tips below to ensure every seal gives maximum life:
- Store your Caterpillar o-ring kit in a cool, dry, and dark location to prevent UV or ozone degradation.
- Always keep the kit closed when not in use.
- Do not mix old and new o-rings in the same compartment.
- Avoid stretching or folding o-rings during handling.
- Regularly replace aging o-rings even if no failure has occurred — proactive maintenance pays off.
Following these practices helps maintain the integrity of the seals and extends equipment uptime.
Troubleshooting Common O-Ring Issues
Even after a careful install, problems can arise. Here’s how to spot and fix them quickly:
| Issue | Possible Cause | Solution |
| Leaks after installation | O-ring twisted, wrong size or damaged | Reinstall with correct o-ring and lubrication |
| Premature wear or cracking | Incompatible material for system fluid | Use proper seal material from the Caterpillar kit |
| Flattened o-ring | Excessive compression | Inspect groove size; replace with correct seal |
| Pinched or torn seal | Improper installation method | Use installation tools and follow proper technique |
Knowing how to use an o-ring kit properly can prevent recurring breakdowns and unnecessary costs.
Do It Right, Keep It Running
Installing an o-ring isn’t just a routine task, it’s a precision process that affects system integrity, safety, and performance. By using a Caterpillar o-ring kit, following proper cat o-ring kit installation steps, and applying the best industry practices, you can ensure long-lasting, leak-free performance.
Understanding how to use o-ring kit equipment effectively is what separates reactive repairs from proactive maintenance. Get it right the first time, and your machinery will thank you with fewer breakdowns and more productivity.

About the Author

Related Posts

How to Replace Heavy Equipment Turbochargers Safely and Efficiently