Worldwide Shipping
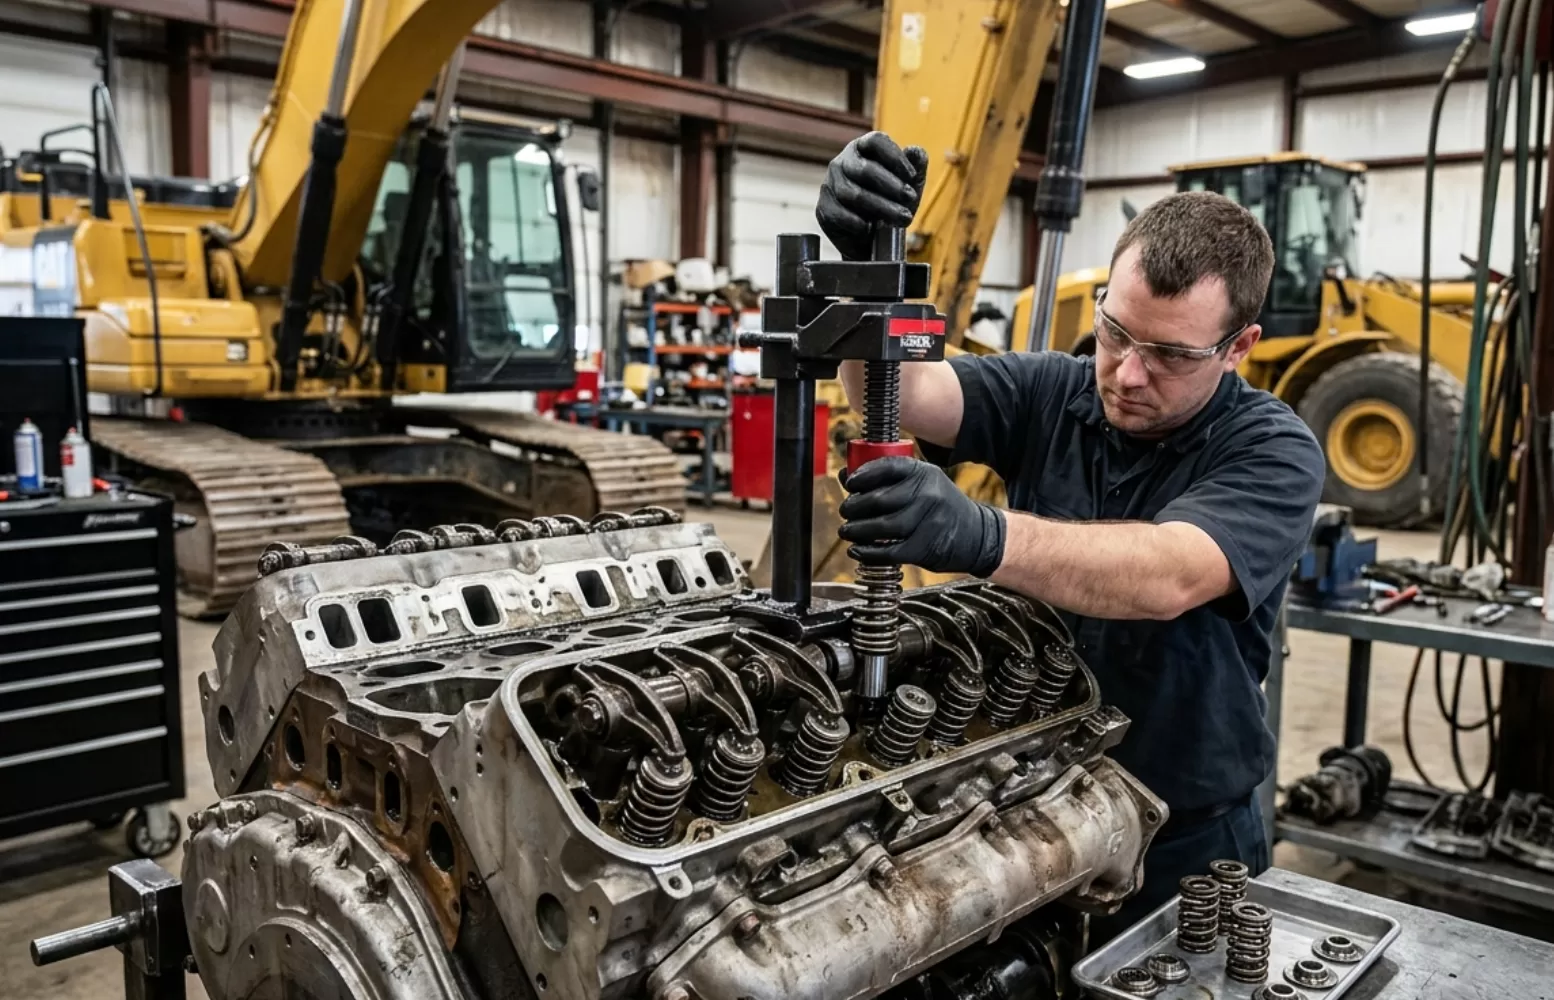
 How to Replace Fuel, Oil, and Hydraulic Filters in Heavy Equipment

If you own or maintain heavy equipment, you already know how much these machines go through in a single day. Dust, dirt, and debris are always trying to find their way into the engine, fuel system, and hydraulics. That’s where filters step in; they keep everything clean and running smoothly.
But filters don’t last forever. Over time, they clog up and need to be replaced. The good news? Changing a filter isn’t as complicated as it may sound. With the right approach, you can handle fuel filter installation, oil filter replacement, or even hydraulic filter changes on your own.
In this guide, we’ll walk you through the installation process step by step, so you can feel confident when it’s time to replace parts like 1R-0716, 1R-0749, 1R-0750, and 1R-0751.
Before You Begin: A Few Things to Keep in Mind
Think of filter replacement as routine care like brushing your teeth, but for your machine. Before you start:
- Safety first: Park the equipment on level ground and shut off the engine.
- Let it cool: Give the engine or hydraulic system time to settle down.
- Get your tools ready: Wrenches, clean clothes, and a container for fluids.
- Grab the right filter: Double-check the part number so you’re not halfway through with the wrong one.
Taking a few minutes to prepare can save you a lot of headaches later.
Fuel Filter Installation
Installing a fuel filter may seem like a simple task, but doing it correctly is essential for protecting the engine from dirt and debris that can enter the fuel system. A carefully installed fuel filter for heavy equipment ensures clean fuel delivery, better combustion, and improved performance. With the right steps, you can replace the filter confidently and keep your machine running smoothly.
Step 1: Find the Filter
Fuel filters are usually located along the fuel line or near the engine. If you’re unsure, the equipment manual is your best friend.
Step 2: Remove the Old Filter
- Shut off the fuel valve if your machine has one.
- Loosen and remove the old filter carefully — some fuel may spill, so keep your container handy.
- Wipe the area around the filter housing to keep dirt out of the system.
Step 3: Install the New Filter
- Lightly coat the gasket of the new filter with clean fuel or oil.
- Screw the filter on by hand until snug — no need to muscle it tight.
- Open the fuel valve and prime the system if required.
Step 4: Test It Out
Start the engine and let it run for a minute. Check for leaks around the filter. If everything looks good, you’re done.
Oil Filter Installation
The oil filter plays a vital role in keeping the engine oil clean and free from harmful particles. When replacing an oil filter for heavy machinery, proper installation is just as important as choosing the right part. A secure fit helps maintain consistent oil flow, prevents leaks, and supports long-term engine health. Following the correct installation process ensures reliable protection and performance.
Step 1: Drain the Oil
- Place a container under the oil drain plug.
- Open the plug and let the oil drain completely.
- Replace and tighten the plug when finished.
Step 2: Remove the Old Oil Filter
- Use an oil filter wrench if needed.
- Make sure the old gasket comes off with the filter.
Step 3: Install the New Oil Filter
- Dab a little clean oil on the new gasket.
- Screw the filter in by hand until it’s snug.
Step 4: Add Fresh Oil
- Fill the engine with the recommended amount of oil.
- Start the machine, check the oil pressure, and look for leaks.
Hydraulic Filter Installation
Hydraulic systems work under high pressure, and even small amounts of contamination can cause serious damage. That’s why installing a hydraulic filter for heavy equipment correctly is so critical. A properly fitted filter keeps hydraulic fluid clean, protects sensitive components, and helps the system perform at its best. Taking care during installation can save both time and costly repairs.
Step 1: Relieve Pressure
Hydraulic systems can hold pressure even when the engine is off. Move the control levers a few times after shutdown to release any built-up pressure.
Step 2: Remove the Old Filter
- Carefully unscrew the hydraulic filter.
- Clean the mounting area to avoid pushing dirt into the system.
Step 3: Install the New Filter
- Coat the gasket with clean hydraulic oil.
Screw it into place by hand until snug.
Step 4: Refill and Test
- Top up the hydraulic fluid if needed.
- Start the engine and cycle the controls to remove air.
- Check for leaks and confirm smooth operation.
Why Proper Installation Matters
Choosing the right filter is only half the job, the way you install it makes all the difference. Incorrect installation of fuel filters, oil filters, or hydraulic filters can lead to leaks, reduced efficiency, or even equipment failure. Proper installation not only protects your machinery but also ensures that each filter performs as designed, giving you peace of mind and extending the service life of your equipment.
Installing filters isn’t just about swapping out an old part for a new one. Done right, it ensures:
- Better performance – clean fluids keep the engine and hydraulics working at their best.
- Fewer breakdowns – no more clogged systems or premature wear.
- Longer machine life – consistent maintenance protects your investment.
A filter may be small, but it makes a big difference in how well your machine runs.
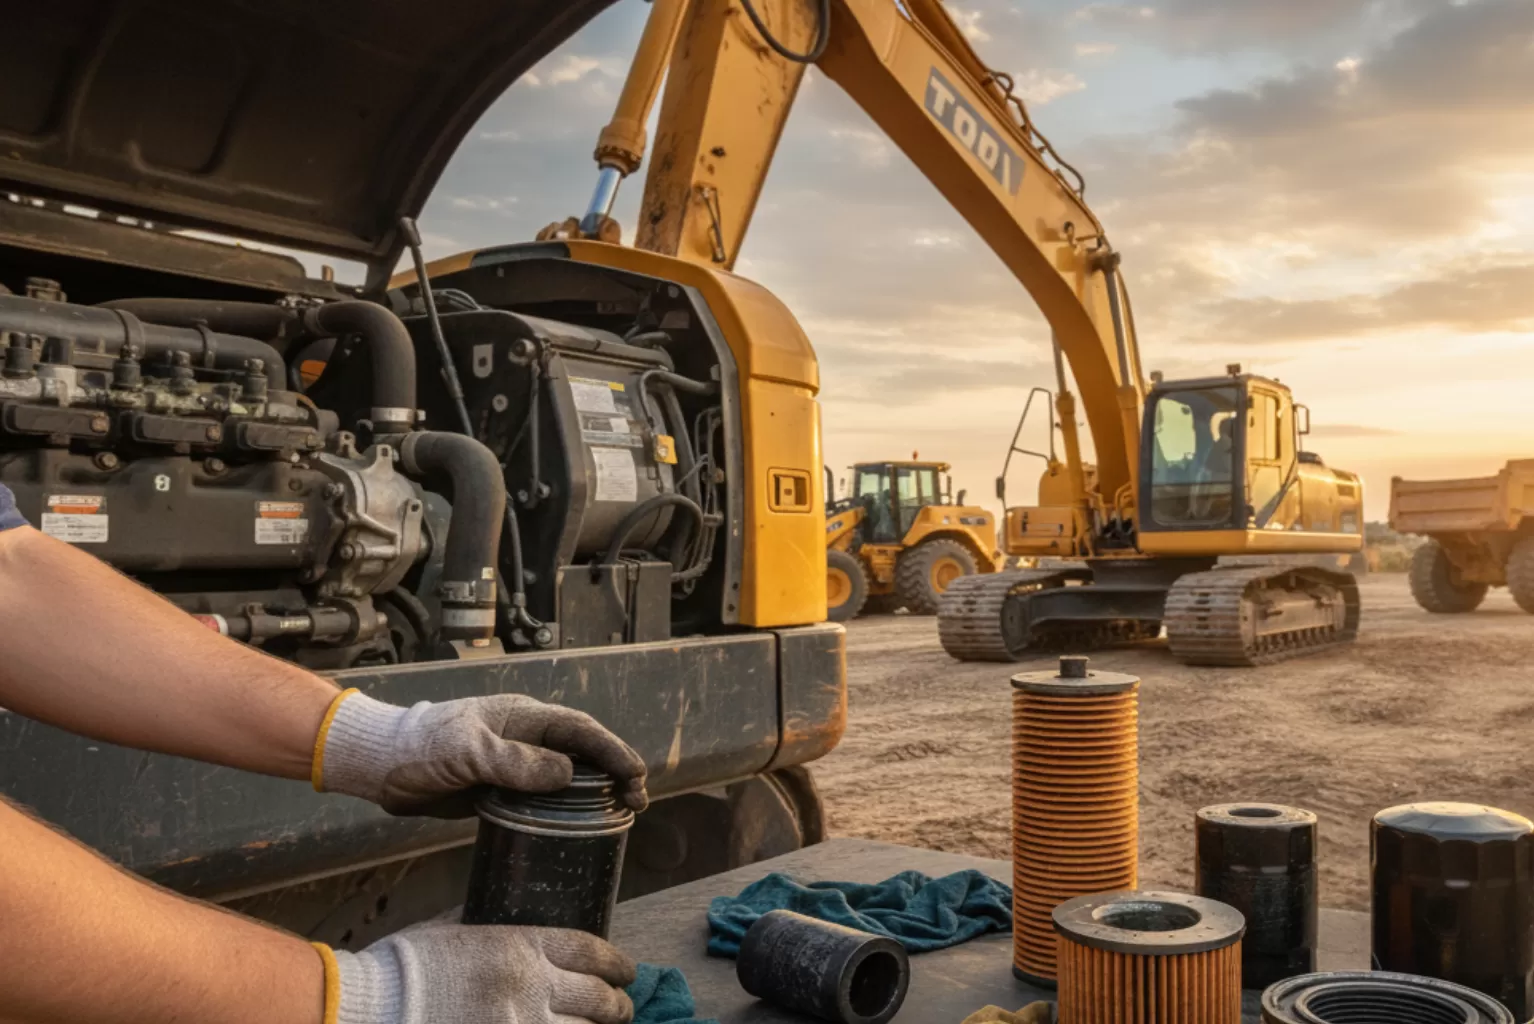
Choosing the Right Replacement Filters
Not all filters are the same. That’s why it’s important to choose high-quality aftermarket filters that are built to meet or exceed OEM specifications. They’re affordable, reliable, and widely available. Commonly used part numbers for CAT equipment include:
- 1R-0716
- 1R-0749
- 1R-0750
- 1R-0751
These filters fit a variety of CAT models and deliver dependable protection.

About the Author

Related Posts
Keep Your Machines Running Strong: Heavy Equipment Filter Guide